Monday, June 27, 2011

Sunshine Card


Hey everyone, just a short post today as I'm violently ill from going off the Prednisone. The doc said going from 60mgs to zero is fine... it's really not. Not at all. I actually thought I was going to end up in the hospital and if you factor in how much I hate those places... yeah... not good.


This is my last card from the June CupCards {to go} Virginia kit, but don't worry, it's only four days until the big reveal for the summer kit. Yay!


Friday, June 24, 2011

Simple Steps Card


Here's a simple step-by-step card using the June CupCards {togo} kit.

What you'll need:


Step One:


Step Two:


Step Three:


Step Four: Add Embellishments


Step Five: Add Stitching and Attach to Card Base

Thursday, June 23, 2011

Cake #21 Chocolate Buttermilk Candy Filled Cupcakes - By Brayden

My son Brayden is helping with today's post. You see, something went very, very wrong in my back and I've been stuck, lying flat since Monday morning. The doctors have me on a handful of things, including Prednisone, in hopes of driving off the rampaging barbarian hordes that are ransacking my spinal column.

So far not so good.

Knowing I've been working hard to keep up with the 52 Cakes Project, my youngest whipped up a recipe and tutorial for everyone. He's a really neat person and to him I offer my most sincere thanks. So without further preamble - here's Brayden.

Chocolate Buttermilk Candy-Filled Cupcakes

Recipe:

1 box Devils Food or Chocolate Cake Mix
1 cup buttermilk (to replace the water on the box)
Vegetable Oil (the amount on the box. We use 1/2 oil, 1/2 applesauce. Mom buys the individual serving size ones just for baking)
4 eggs (in place of the number on the box)

Mix together well.

Spoon half the batter into a large ziploc bag, snip off end and fill cupcake pans.

Fill 1/2 of the pans 2/3 of the way full and half 1/3 way through. For the 1/3 full ones, drop in a mini candy bar (Milky Way, Snickers etc) and then cover with batter.

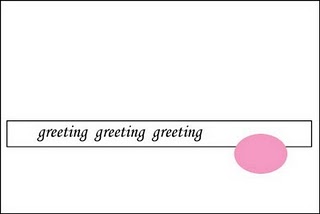
Tip: Not everyone likes candy in their cupcake or the added calories so color code your cupcake liners so people know what they're getting. Like this:

Red are filled, green are plain.

Bake as directed. The buttermilk makes the cupcakes really moist and delicious.

Simple Frosting:

2 sticks of butter
4 cups icing sugar
Fat-free half 'n' half, cream, milk, coffee creamer, coffee - something wet as needed.
extracts: vanilla, butter extract, mint, almond etc.

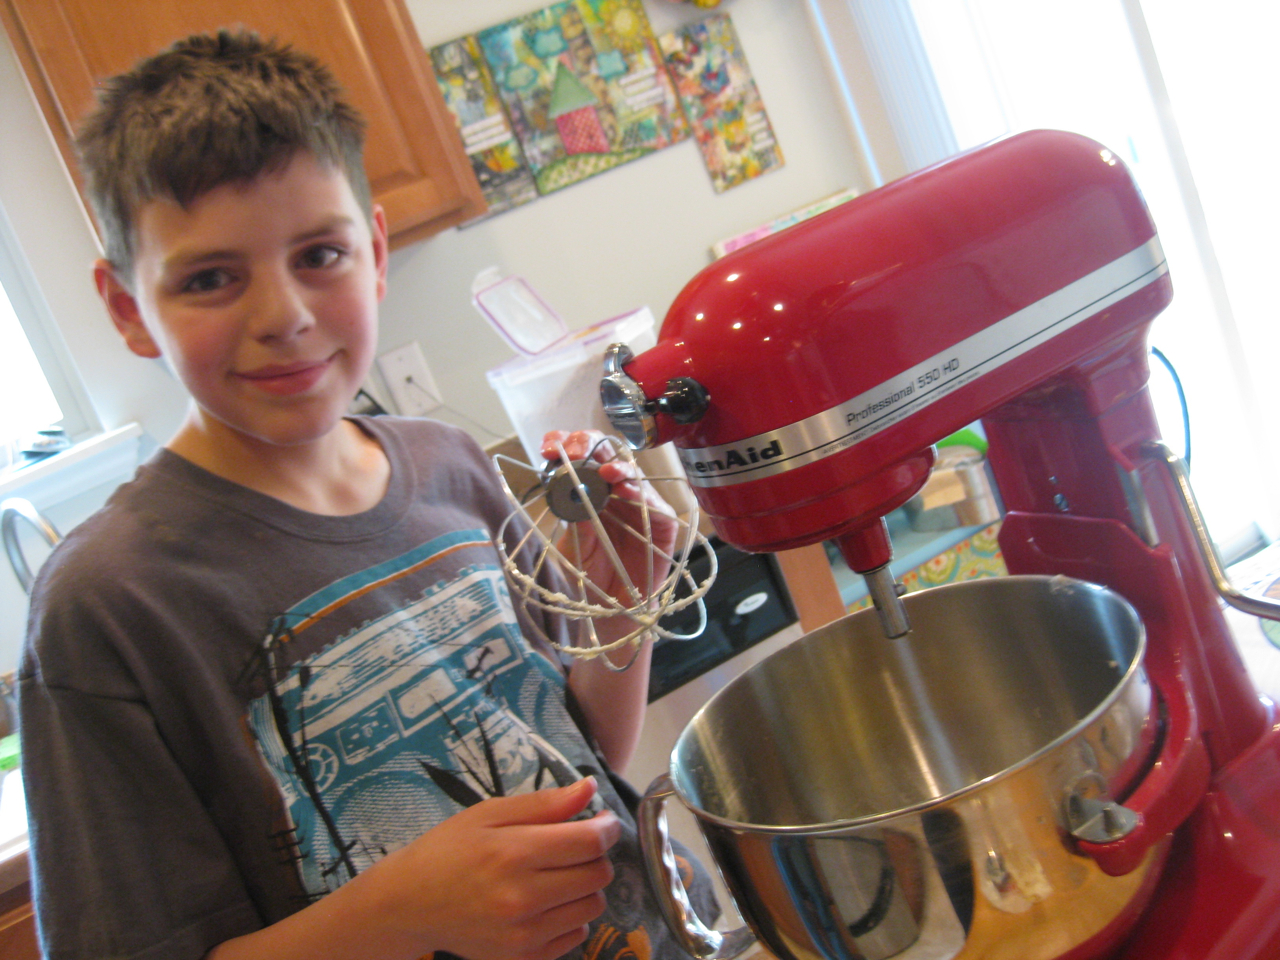
Put butter in the mixer and beat until fluffy


Add icing sugar a little at a time until all combined


Beat until really, really light and fluffy


It'll be delicious but really stiff. So you need to add a little liquid until the consistency is spreadable. Add your extracts. I used vanilla and butter extract.


Spread on your cupcake

(It's hard to spread and take pictures. You should see all the icing on the camera!)


Top with chopped candy bars.

Mom and my brothers said some of my ideas look like they'd been handled too much - like this one, where I decorated with the chocolate off of chocolate bars. 


And you're done, so get someone to take pictures of you and your dessert. Avery and Trenton took these:


Thanks, Brayden. You're a great kid and your cupcakes were delicious.

Wednesday, June 22, 2011

Scrapbook News and Review


I'm the Featured Artist at Scrapbook News and Review today. If you want to check out my tutorial 


Tuesday, June 21, 2011

Sewing Space Part One - Tiered Organizer

I'm working on transforming my desk in the hall "sewing area" from a catch-all surface for everything from laundry to lego to a nice, organized spot where I can sew without having to move a ton of stuff first.

My goal is to add storage, organizers and a little bit of personal style. I'm only half-way there but I wanted to share my progress.

First up, some cute vertical storage. These are all over the internet, but just in case you needed some tips, I took pics of the process.


Go thrifting and acquire two candle sticks (or really any sort of spacer) and three flat surfaces - like plates, platters etc. I have a burner pan, a round cake pan and a tarnished platter for this one. I bought the "expensive" stuff and it came to six bucks.


Look at all the wonderful tarnish and age!


Make sure the bottoms are flat and that the graduation in size is pleasing.

Try them out, unattached, in the space to make sure the height is right. If not, go find a different size of candle stick - they don't need to match.


Spray paint your candlesticks, or in this case, since I liked the white, I distressed the finish using rough sand paper.


Glue together with E-6000


If there is some sort of trick to this, I'd love to hear it. My tower kept sliding around, I ended drying it upside down.


Fill with your supplies. 

There's lots more to share. So stay tuned :-)

Warmly, Nicole

Friday, June 17, 2011

Clean and Simple Card Set

When I saw the Stampotique Challenge to make some Clean and Simple cards I thought it was the perfect chance for me to try this style that is so... well, not my style.

I imagined classy and I made this:


Yeah... missed the mark a bit.

But it was so much fun that I made a whole set - slightly less bloody but coordinated.


She has an umbrella so I made the ground wet. Makes sense, right?

This chick looks like she's vouge-ing at an art gallery:


So I gave her some abstract art to pose in front of.

Clean and simple is a hoot! 
I loved not worrying about adhesive and layers and gobs of stuff. 
This was just pure self-expression. 
It's good for the soul.

Here's the set:


Click to enlarge

Chocolate Pecan Bars


Chocolate and Pecans are one of the great food pairings and my Chocolate Pecan Pie has been my signature dessert for about fifteen years. That said, sometimes you want to mix things up a bit. Plus bars have such a summery, go-on-a-picnic feel to them. Yum.

I found this recipe at Jam Hands who adapted it from Food.com. Here's my version, there are several tweaks employed to make it my own.


Chocolate Pecan Pie Bars
Makes one 9" x 13" pan

1/2 cup butter, room temperature
1/4 cup light brown sugar, packed
1 1/4 cups all-purpose flour
1/2 teaspoon salt

2 tablespoons butter, melted

3 large eggs
3/4 cup blend of light corn syrup, maple syrup and golden syrup. If you don't have all three, or prefer one over the other make your own mix, choose just one - the sky is the limit. This is my favorite flavor combo.
1/2 cup granulated sugar
1 cup semi-sweet chocolate chips (original recipe calls for 2 cups so you can use more if you like)
2 cups pecans, coarsely chopped (or a little less. That's quite a lot)
1 tsp bourbon - or 1 cap as we like to measure it. Vanilla is fine to substitute.

1. Preheat oven to 350. Line bottom and sides of a 9×13 inch baking pan with aluminum foil. Spray with cooking spray. Supposedly you shouldn't have to, but mine stuck like crazy!

2. In the bowl of an electric mixer, beat 1 stick room-temp butter, brown sugar, flour,and salt until coarse crumbs form. Pour mixture into prepared pan; press firmly into bottom.


3. Bake until lightly browned, 25-30 minutes. Let cool, 10 minutes.


4. Meanwhile, in same large bowl, mix eggs, syrups, granulated sugar, and 2 TBS melted butter and bourbon until well combined. Add chocolate chips and pecans; spread over crust.


5. Bake until set, 25-30 minutes. Cool completely in pan before lifting out (use foil to lift). Cut and serve.


Note: I didn't include a calorie breakdown on these divine sweets - some things are best left unsaid.

Thursday, June 16, 2011

Sweet and Easy Card

Here's a sweet and easy card I made using the 


Since you're only going to see a little bit of the blue paper, cut the rest of the sheet away leaving enough to easily adhere the top sheet to. I call this the "bare backsides technique"  (I know, cheeky!) and I use it on almost all my projects. 


Attach the fancy edged paper.


Trace your card base.


Trim your paper to size.


Add stitching - real or faux.


Attach your sticker sentiment and embellishments.


Affix card front to card base.


And there you have it, a quick and easy card.


I used the CupCards{togo} June sketch: